Setting Up Live TV
What You Will Need
- A Raspberry Pi with Raspbmc already installed (see here
for details)
- A Linux compatible USB TV Adaptor ( I used a PCTV
Systems Nano Stick 73e DVB-T USB Stick)
- A terminal program such as PuTTy to get command line access
to the Pi.
- An MPEG 2 codec licence - Purchase from http://www.raspberrypi.com/
Setup Instructions
- If you haven't already, enter the MPEG2 codec licence into
XBMC
- Go to Programs>Raspbmc Settings
- Go to System Configuration
- Enter your licence key under 'Advanced System Settings'
- Plug the TV Stick into the Pi or an attached USB hub
- Log into the Pi via ssh (username: pi password:raspberry)
- type 'lsusb'
- on the output you should see a line identifying your TV
stick, e.g. 'Bus 001
Device 010: ID 2304:0237 Pinnacle Systems, Inc.
PCTV 73e [DiBcom DiB7000PC]' This shows the Pi has
detected the stick
- type 'dmesg
| grep dvb'
- You will probably see a line saying that a firmware file
cannot be found, in my case it was looking for a file called
'dvb-usb-dib0700.fw'
- Google is your friend. Do a search for the filename, you
should be able to find it available for download somewhere, I found
mine at http://linuxtv.org/downloads/firmware/
- Once you have found a link to the firmware file, right
click on it and select "Copy Shortcut)
- On your terminal session type "cd /lib/firmware'
and press
enter
- now type "sudo
wget ' and then paste the shortcut (on PuTTy
a simple right click will do the paste for you) and press enter.
- the firmware file should now download to the firmware
directory.
- Reboot the Pi or simply unplug and plug back in the adaptor
- type 'dmesg
| grep dvb' and press enter again. You should see output
similar to this:
dvb-usb: found a 'Pinnacle
PCTV 73e' in warm state.
dvb-usb: will pass
the complete MPEG2 transport stream to the software demuxer.
dvb-usb: schedule
remote query interval to 50 msecs.
dvb-usb: Pinnacle
PCTV 73e successfully initialized and connected.
usbcore: registered
new interface driver dvb_usb_dib0700
dvb_hdhomerun: module
is from the staging directory, the quality is unknown, you have been
warned.
Configuring RaspBMC
- Enable the TV Headend Server - Go to Pograms>RaspBMC
Settings
- Under Servers - Check that TVHeadend is enabled
- On your PC, open a browser window and enter into the
address bar http://<address of Pi>:9981 e.g.
http://192.168.1.99:9981
- You should see the Tv Headend configuration page
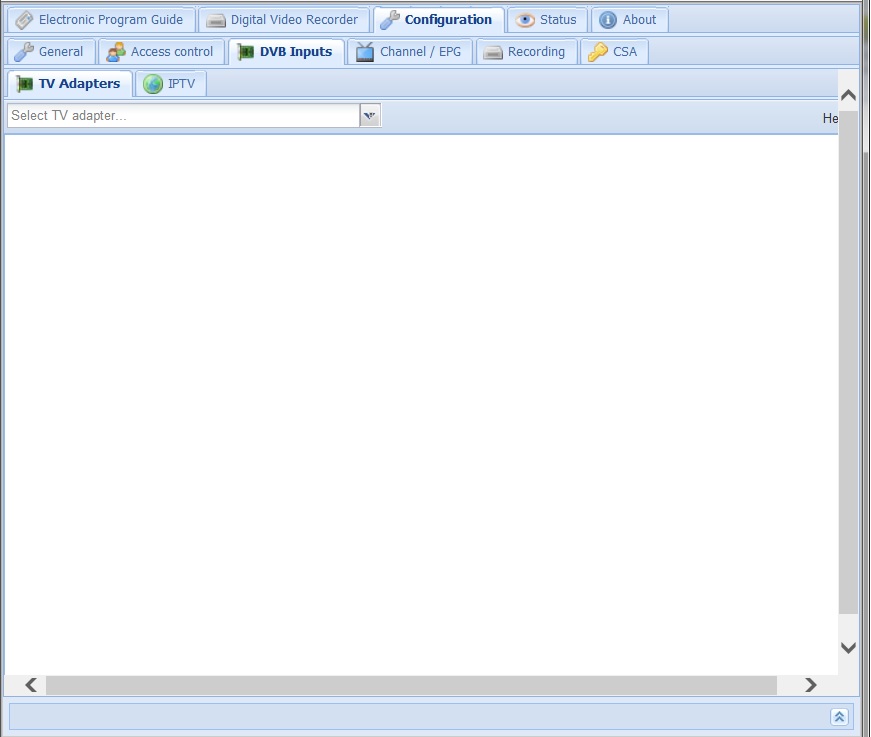
- Go to the Configuration Tab, then Select DVB Inputs

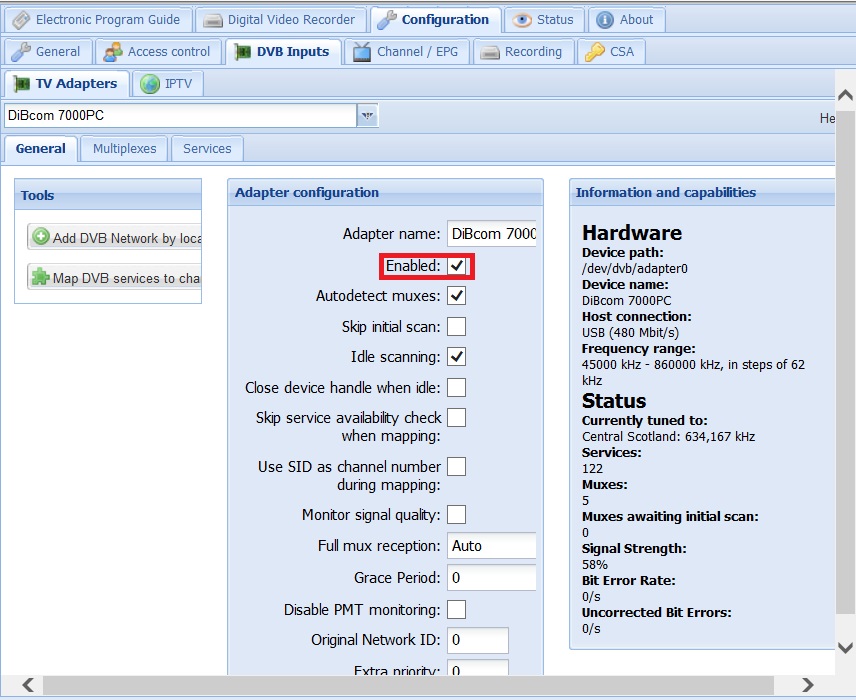
- In the TV Adaptors drop down, you should see your adaptor
listed. Select it and then make sure that 'Enabled' is checked

- You now have two choices. You can either click 'Add DVB
Network by location" and select your country and nearest transmitter
but the information on the availables muxes is probably out of date (it
was for me) so you can choose to add the Multiplexes manually by
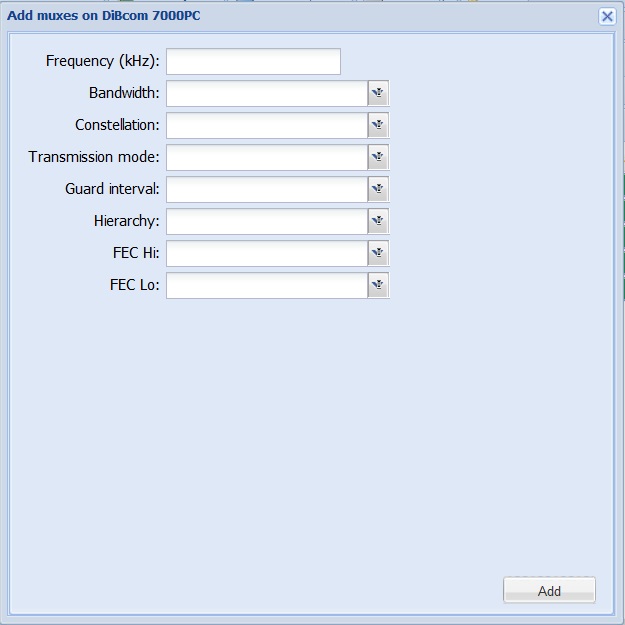
clicking the 'Multiplex' tab and then clicking "Add Multpilex manually'

- Information on UK multiplexes can be found at http://www.ukfree.tv/closedown.php.
Find your nearest transmitter and select the tv option to see a list of
multiplexes

- In our Manual box you will need to enter the frequency in
KHz the information give is in MHz so multiply by 1000. In the
example above we would be entering hte frequence as 674000
- Bandwidth is 8MHz
- Constellation is given in the info as QAM64
- Transmission mode is given in the info above as 8K
- Guard Interval for the UK is 1/32
- Hierarchy is 'None'
- FEC Hi is given int he info as 2/3
- FEC Lo for the UK is 'None'
- Click Add.
- Once you have added the first Mux, TVHeadend should
automatically detect the rest of them so you only need to add the first
Mux.
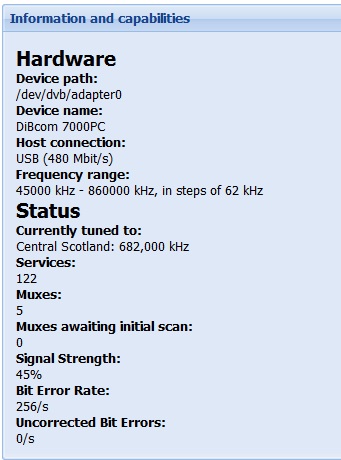
- TVHeadend will now scan for channels, this will take a few
moments but it should find all the services in your area

- Now you need to click "Map DVB Services by area' to map the
channels and start pulling down EPG info
- On the XBMC interface we now need to enable the Live TV
Service. Go to System and select 'Settings'
- Go to the LIive TV entry and set it to 'Enabled'
- You will get a prompt that no PVR Client Add-on is enabled
and then taken to a list of available addons
- Install the TVheadend Client addon, you shouldn't need to
change any settingss.
- Congratulations. On the menu bar you should see 'Live TV'
from where you can view Live Tv. it may take a few minutes for the
Channels to add themselves in and the EPG data to become available
Note: there is a random bug in the current build of XBMC where if the
video glitches the audio goes out of synch. Just stop the feed and
restart it. The good people developing Raspbmc are aware of the issue
and should roll out a fix soon.


